Photogrammetric Data in Blender

.: Camera animation and UV mapping :.

Task

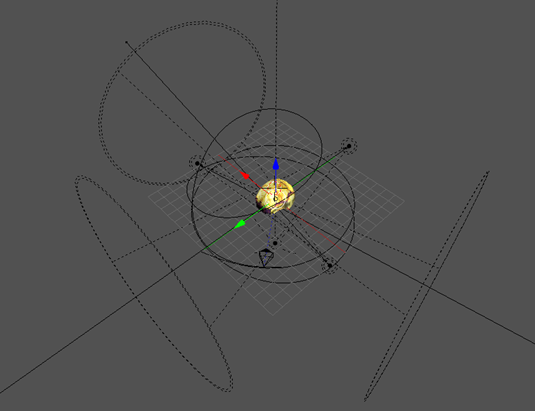
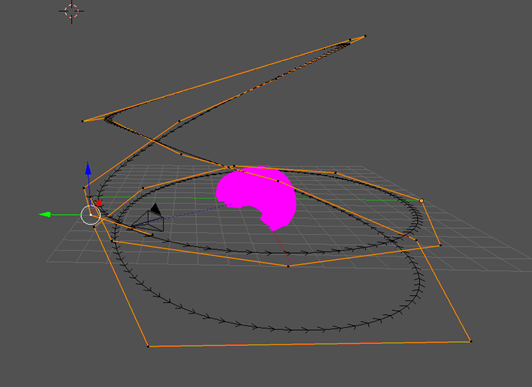
The aim of this Sofwarepraktikum was to make a short illustrative film of the skull. The skull should rotate around to show the different sides and be false coloured to expose irregularities. The film should also be loopable, so the last frame should fluently merge with the first frame.


  • Materials:
  • To complete my assignment I received a 3D model of a skull together with screenshots.

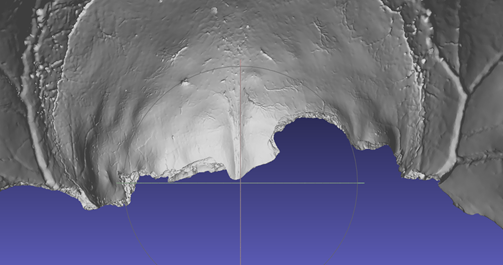
    The skull was found near the Speyer city, in an archeological excavation. Next it was scanned in great details using a 3D scanner. I received it's Photogrammetric data which I could load using a program such as Blender or Meshlab.
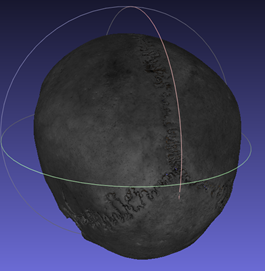
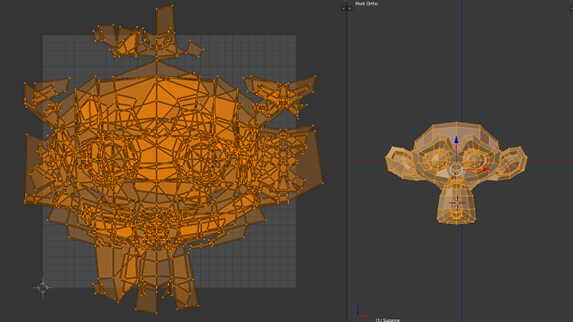
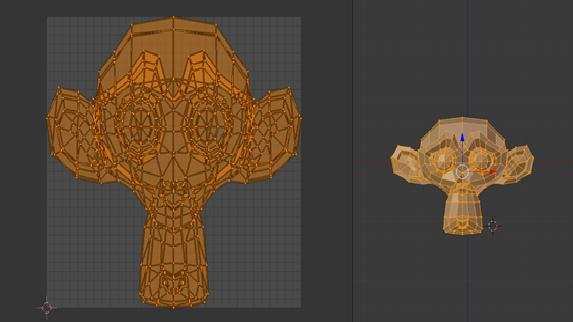
      170x170

      3D skull model

      170x30 170x30

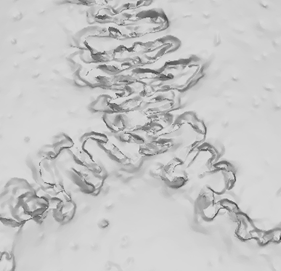
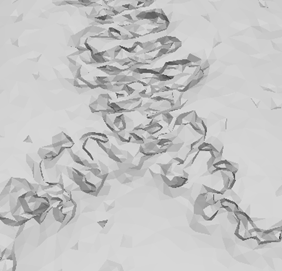
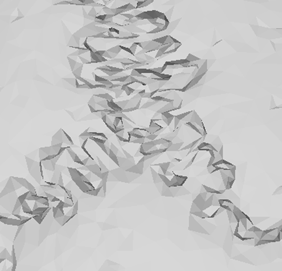
    Screenshots were made in a program called Gigamesh. The skull was loaded into it and then it was colored by the program based on it's local curvature. Then the screenshots from 6 different sides of it were made. My task was to use them as a base for the texture and apply them using uv mapping in blender.

      170x170

Faces Reduction

The actual model had over 10 million faces, which made it really difficult to work with. Also for animation purposes we don’t really need such a large amount of vertices. Often it is enough when various irregularities are depictured only using the colours on a texture, not the actual curvature of the surface. It makes the whole process of animation easier and more efficient. We don’t lose that much on quality as smaller parts would be anyway almost invisible for the viewer. Also when watching an animation, we don’t concentrate on details. That’s why it is safe to reduce the number of faces in the model.

    300x180

In order to do so I used a special program called Meshlab. It has a great amount of different filters, that help to work with 3D models. The filter that allows reduction of faces is called ‘Quadric Edge Collapse Decimation’. The only question we need to answer now is how much we want to simplify our model. In the skull I reduced the number of faces from 10 million to 250 thousand and then to 130 thousand. Afterwards I compared all three models and decided to use 250 thousand faces model for further work. Although 130 thousand faces model is still good, I wanted the animation to be in a very high quality. I made my choice based on the specific fragment of a skull shown below – the biggest crack on it. I wanted it to be as close to original as possible.

    260x180

    10 million faces

    260x180

    250 thousand faces

    260x180

    130 thousand faces

UV mapping

Next step was to place a texture onto a 3D model of the skull and find a good and efficient way to do it. Blender offers multiple tools for UV mapping. We can project a 3D model on to a 2D space using several options. I considered ones that are called ‘Cube projection’ and ‘Project from View (Bounds)’. The first one didn’t work how I did expect, that is similarly to Cubic projection. Cubic projection should automatically map 6 textures onto 6 sides of our 3D model. Textures are arranged like sides of a cube which are then applied on a 3D model. Instead, blender applies Cube projection in a way shown below on the screenshot.

    300x180

That’s why I used Project from View mode instead. It is very similar to the Cube projection but it only applies one texture to any given side of the model at a time. Hence I created 6 different UV maps, to cover 6 screenshots of the skull.

    300x180

Some parts of the skull didn’t have defined colours from a texture. It happened because screenshots don’t provide colours to some areas inside of the skull. To fill it colour from nearby area was stretched.

Camera animation

Lastly, I had to come up with a way to make a rotating animation of the skull. For that purpose I decided to move the camera around the skull, instead of implicitly rotating the skull. In order to do so, I designed a path around the skull and attached camera on the beginning of it. Camera moves along the patch, always facing the center of the skull. This way it looks like it is the skull which is rotating.

The difficulty was to have camera at the same position on the first and last frame, so we could get fluent animation that is loopable. Hence, I had to design a patch in such a way that its end and the beginning will be at a same place and will cover itself. Also camera angle wasn’t always at the same position and was ‘jumping’ along the animation. That is why I did play with various options in blender to make it more stable.

    260x120
    image
    360x270

Contact

  • 480x640

    About me:

    Autor: Anna Witwicka

    Year of birth: 1992

    Faculty: Computer Science

    Fachsemester: 6

    Country: Poland

    University: Warsaw University of Technology

    Email: witwickaa@student.mini.pw.edu.pl