Project Overview
Vvis 2012 is a heavily modified and improved version of a volume rendering application that is developed by students at Heidelberg University's Interdisciplinary Center for Scientific Computing (IWR) under varying project names since 2006.
Since the previous development iteration (Jens Fangerau, 2008?), VVis supports nVidia's CUDA technology to run the volume ray-casting algorithm on GPUs (that support CUDA), which provides a significant boost for rendering performance compared to the CPU implementation.
Vvis 2012 is the project name for the latest iteration of the software, developed by Sebastian Bechtold as an "advanced software practical" at IWR's Visualization an Numerical Geometry Group during the summer term 2011. The most notable enhancements of Vvis 2012 are:
- Improved shading
- Support for 16-bit volume datasets
- Fast interactive clipping
- High-quality zoom
- Simplified and completely rewritten GUI
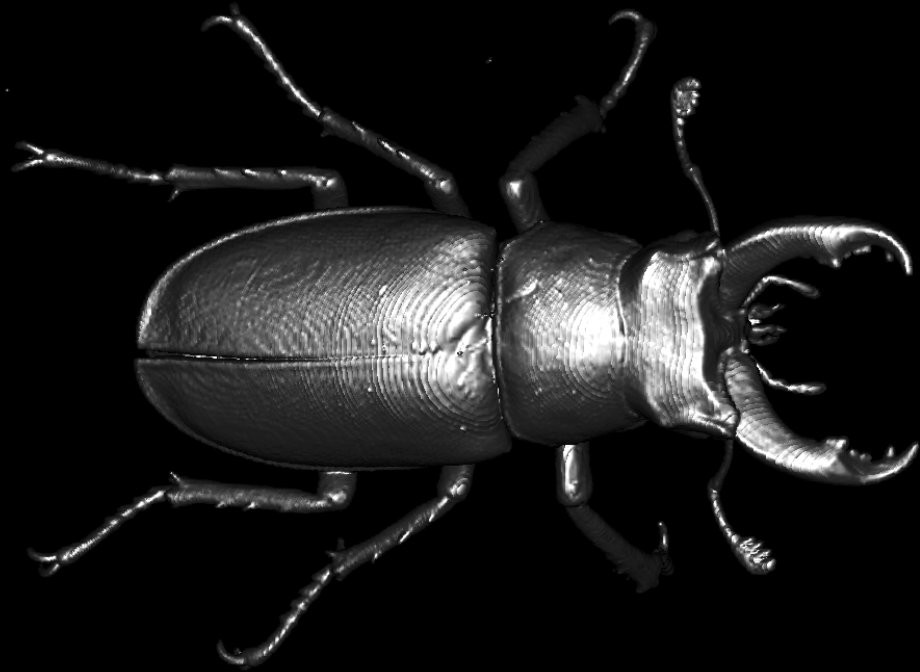
A computer tomography (CT) scan of a stag beetle, rendered with VVis 2012.
Furthermore, huge parts of the code base were heavily cleaned up, simplified and refactored, which improves the program in many aspects. Most important, the source code is now a lot easier to read, understand and modify. Aside from that, the new version runs faster, is compiled faster and has fewer bugs.
However, it should also be noted that some features which were present in previous iterations of the Vvis project are not yet implemented or not well integrated in the new version. More information about missing features can be found under "Regressions".
New and improved Features
Improved Shading
Immediately before the beginning of the latest development iteration that resulted in the current version, the shading calculation in the raycasting renderer (both CPU and CUDA rendering paths) did not work correctly, producing uncontrollable, undesired lighting results. These errors were fixed and the lighting now works as expected. The shading model is still the same (Blinn-Phong local shading with one directional light source at infinite distance), but was modified to produce much better results when rendering semi-transparent materials.
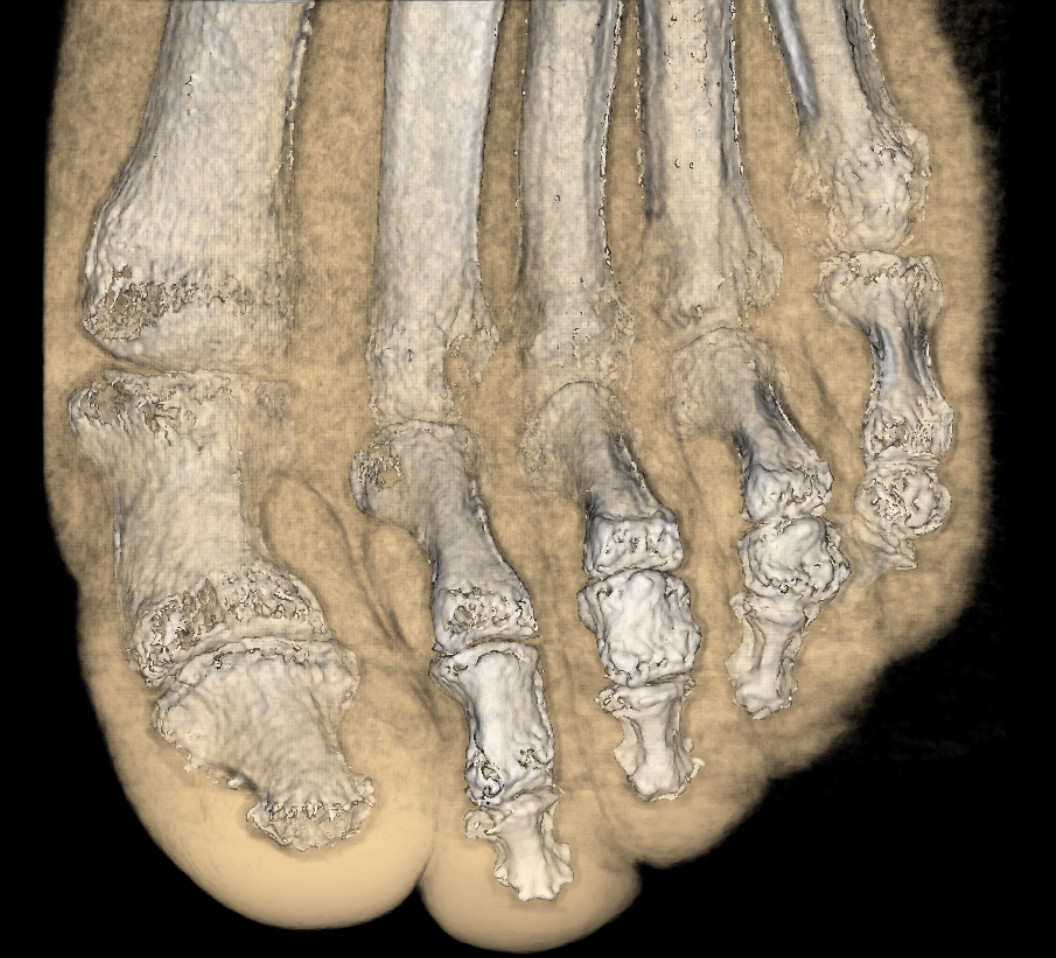
In Vvis 2012, the rendering of semi-transparent materials is significantly improved. In this CT image of a human foot, flesh and skin is rendererd semi-transparent so that the bones are visible.
Support for 16-bit Volume Datasets
The previous iterations of Vvis were only able to load 8-bit data sets. This limitation has been raised to 16-bit. It is still not possible to load datasets with even larger density resolution (e.g. 24 or 32 bits), but such datasets are very uncommon.
Fast interactive Clipping
Clipping means to exclude specific areas of the volume from being rendered at all. It can be used to "cut open" the volume to provide an unobstructed view of it's internals. The previous iteration of Vvis already featured clipping, but it was implemented through trimming of the volume dataset, while the renderer was always drawing the whole volume (which then appeared as "clipped" because the parts which shouldn't be rendered were actually removed from the dataset itself).
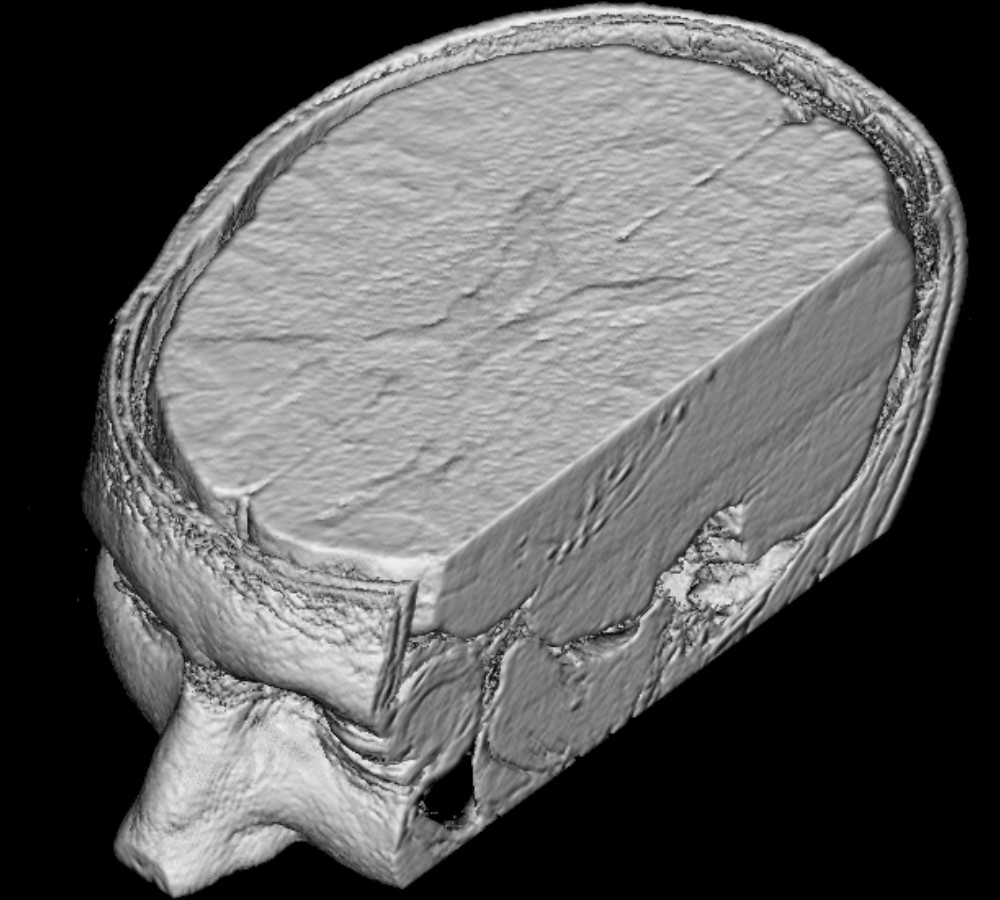
The clipping functionality enables users to examine the inner parts of a volume. This image shows a clipped rendering of a human head, exposing the brain and other features inside the skull.
In Vvis 2012, this method is replaced by clipping on the renderer level, which is much more efficient and simple: The actual volume data isn't changed. Instead, the renderer is told which areas it should draw or not. Changing the clipping planes does now not cost more computing time than any re-computation of the image does, which allows for fast interactive clipping with the same performance as rotating or zooming.
High-Quality Zoom
In previous versions of Vvis, zooming was implemented by simple scaling of the rendered image on the screen. In other words, the image was not re-computed, but only it's pixels enlarged. This method is suboptimal, since it heavily reduces image quality when zooming in, while valuable pixel real estate at the borders of the rendering target texture is moved out of the viewport and wasted.
In Vvis 2012, the zoom feature of the raycasting renderer is rewritten so that changes of the zoom factor lead to a re-computation of the image with modified projection settings that produce a "truly" zoomed, high-quality image. This way, the image quality for any zoom factor is only limited by the resolution of the volume dataset, and all available pixels of the rendering target texture are efficiently used to produce an image that is as crisp as possible.
Simplified and completely rewritten GUI
Not as a primary goal, but merely as a side-effect of the other changes and improvements, the application's Qt-based user interface was completely rewritten during the development process of the latest version. In most situations, there was the intention to do some rather small change to the GUI, but a mix of practical reason and the developer's perfectionism decided that it would be better (and sometimes even faster) to rewrite the concerned part of the GUI code from scratch. Both the GUI's program code as well as it's appearance to the end user are now significantly simplified and cleaned-up.
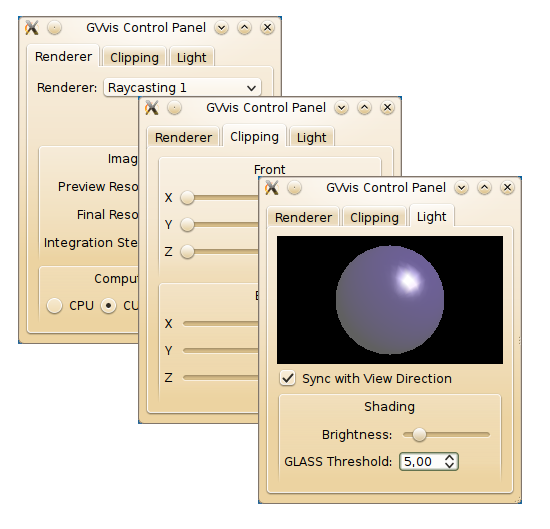
For VVis 2012, the user interface has been completely redesigned and reimplemented from scratch. The new control panel provides easy access to all render settings.
Changes are applied instantly, supporting a highly interactive style of program usage. This invites the user to "toy around" and experiment with different settings.
Changes are applied instantly, supporting a highly interactive style of program usage. This invites the user to "toy around" and experiment with different settings.
Heavily simplified and refactored Source Code
During the development of Vvis 2012, a very large amount of time has been invested into simplification of the source code. This includes, but is not limited to the following things:
- A total rewrite of the Qt-based user interface
- All dialogs now defined via Qt Designer .ui files
- UI functionality splitted up in smaller, separate classes to simplify code maintenance and allow fast changes to the UI structure
Regressions
Alternative Renderer Implementations
The design concept of the new GUI is oriented towards "interactive" manipulation of the rendering settings, which means that it is assumed that the rendering process is quite fast (less than a second up to ~ 5 seconds at max for high quality renderings). Historically, Vvis provided a number of different volume rendering algorithms to choose from (layered textures, raycasting and shear warp, with the first two even in multiple versions with various differences). Since raycasting is not only the fastest rendering algorithm implemented in Vvis (especially with CUDA support), but also produces the best-looking images, it was decided to focus the development work for Vvis 2012 entirely on the raycasting renderer. The result is that most of the improvements in the new version apply to the raycasting renderer only. It is now the recommended and "quasi-standard" renderer in Vvis. The other renderers should still work, in theory, but are not supported in the current version.
Tiff Slices Import
Also missing in the current version is the functionality to import volumes from stacks of Tiff/GeoTiff images and the ability to write the loaded volume dataset back to the disk in different file formats. While the dropping of the texture and shear warp renderers probably doesn't mean a real loss from the end user's perspective, these extended file import/export features were arguably useful, and it is planned to bring them back into Vvis 2012 in the near future.
Technology
VVis is written in C++. It uses Nokia's Qt library for the user interface and OpenGL for graphics output.
Ideas for Improvement
Lighting
While the current shading algorithm runs fast and is very easy to implement, it has considerable limitations concerning graphics realism. Since color and brightness of each location in the voxel volume is computed entirely independent of it's surroundings, this approach cannot render shadows. Very closely related (effectively the same thing) is the issue that the light computation inside of semi-transparent materials only produces believable results when the direction of the incoming light is equal to the view direction. The reason for this is that the amount of light which arrives at one point inside of a semi-transparent volume is computed along one and the same ray that is also used to compute the color and brightness of the corresponding pixel of the resulting image (this is done primarily in order to save computing time). So, as long as light direction and view direction are the same, the result looks good. However, when the light direction is different from the view direction, the light would pass through different parts of the volume on its way towards a sample point, resulting in a different amount of arriving light and thus - in theory - different brightness. But since we currently still simulate the passing of the light through the voxels along the view ray even when the light comes (or is supposed to come) from a different direction, the result becomes wrong.
It wouldn't be hard to implement a naive first solution to this problem - one could simply compute the correct light intensity for each sample point by casting a ray from the light's origin to the sample point. However, this approach would multiply the computing time for one image by a factor somewhere near the average number of sample points per ray, wich is around 200 to 500 in a typical use case. Given that the computing time for a good quality image of a highly transparent scene on an average computer is already several seconds, it is obvious that this naive approach isn't even worth trying, and a more intelligent solution is definitely required.